
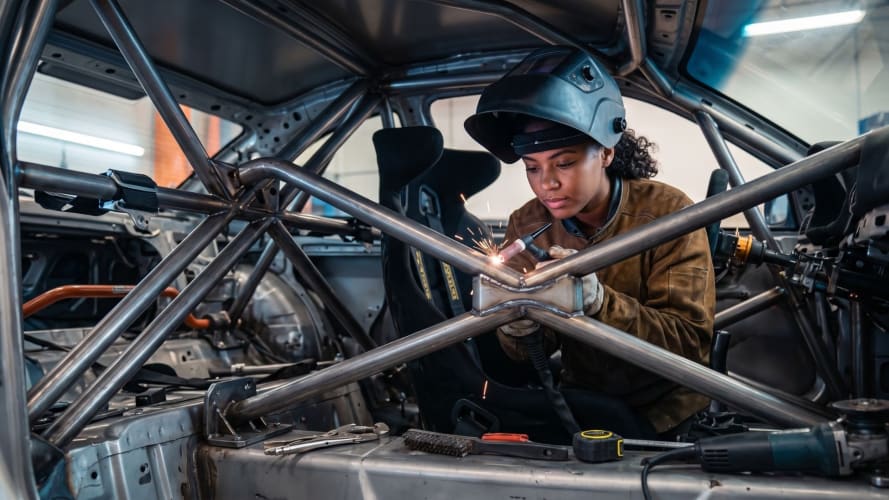
Tackling a DIY cage installation is one of the most rewarding upgrades you can make for safety and chassis stiffness. When you purchase a pre-notched cage kit from a top online racing parts store like Team Z Motorsports, half the hard engineering work is already done for you. However, putting metal to metal requires absolute precision. Avoid these four common mistakes to ensure your install goes smoothly and keeps you safe. Shop today.
Team Z pre-notches our roll cage kits for a tight fit, but you cannot simply weld over factory paint, seam sealer, or mill scale. Welding over contaminated steel leads to weak, porous welds that will fail tech inspection. Strip every joint down to bare, shiny metal. Always tack-weld and test fit the entire structure inside your cabin before running final beads to ensure pillar angles stay perfectly aligned.
A roll cage forms the backbone of your vehicle's structural dynamics. A frequent mistake is welding in rear downbars without accounting for your suspension setup, especially if you are integrating an anti roll bar. Always mock up rear mounting points and verify clearances for your suspension geometry before burning in the lower base plates, saving you from cutting out fresh welds later.
Your seat back and harness support bars are critical safety features. Installing the harness bar at an incorrect height alters the strap angle of your racing harnesses, which can lead to spinal compression or strap slippage during an impact. Sit in your race seat with full gear to mark the exact shoulder height before final welding.
Dumping too much heat into one area causes the chassis and tubing to warp. Move around the cage, placing small tacks and short stitch welds to distribute heat evenly and prevent pulling the structure out of square.
Take your time, measure twice, and clean every joint thoroughly. With proper prep, installing a Team Z kit turns your car into a rigid, track-ready safety cell. Browse all of our aftermarket car parts online today.